Tuesday, August 30, 2022

Creality Ender 3 v2 3D printer with just enough Blender

My sister Jane once asked for a horse because "everyone in her class has a horse". 

Sometimes it feels that way with 3D printers. Several people have recommended the Creality Ender-3 printer as a good starter model. I ordered the Ender-3 v2 and paid AU$360. (Excellent value).

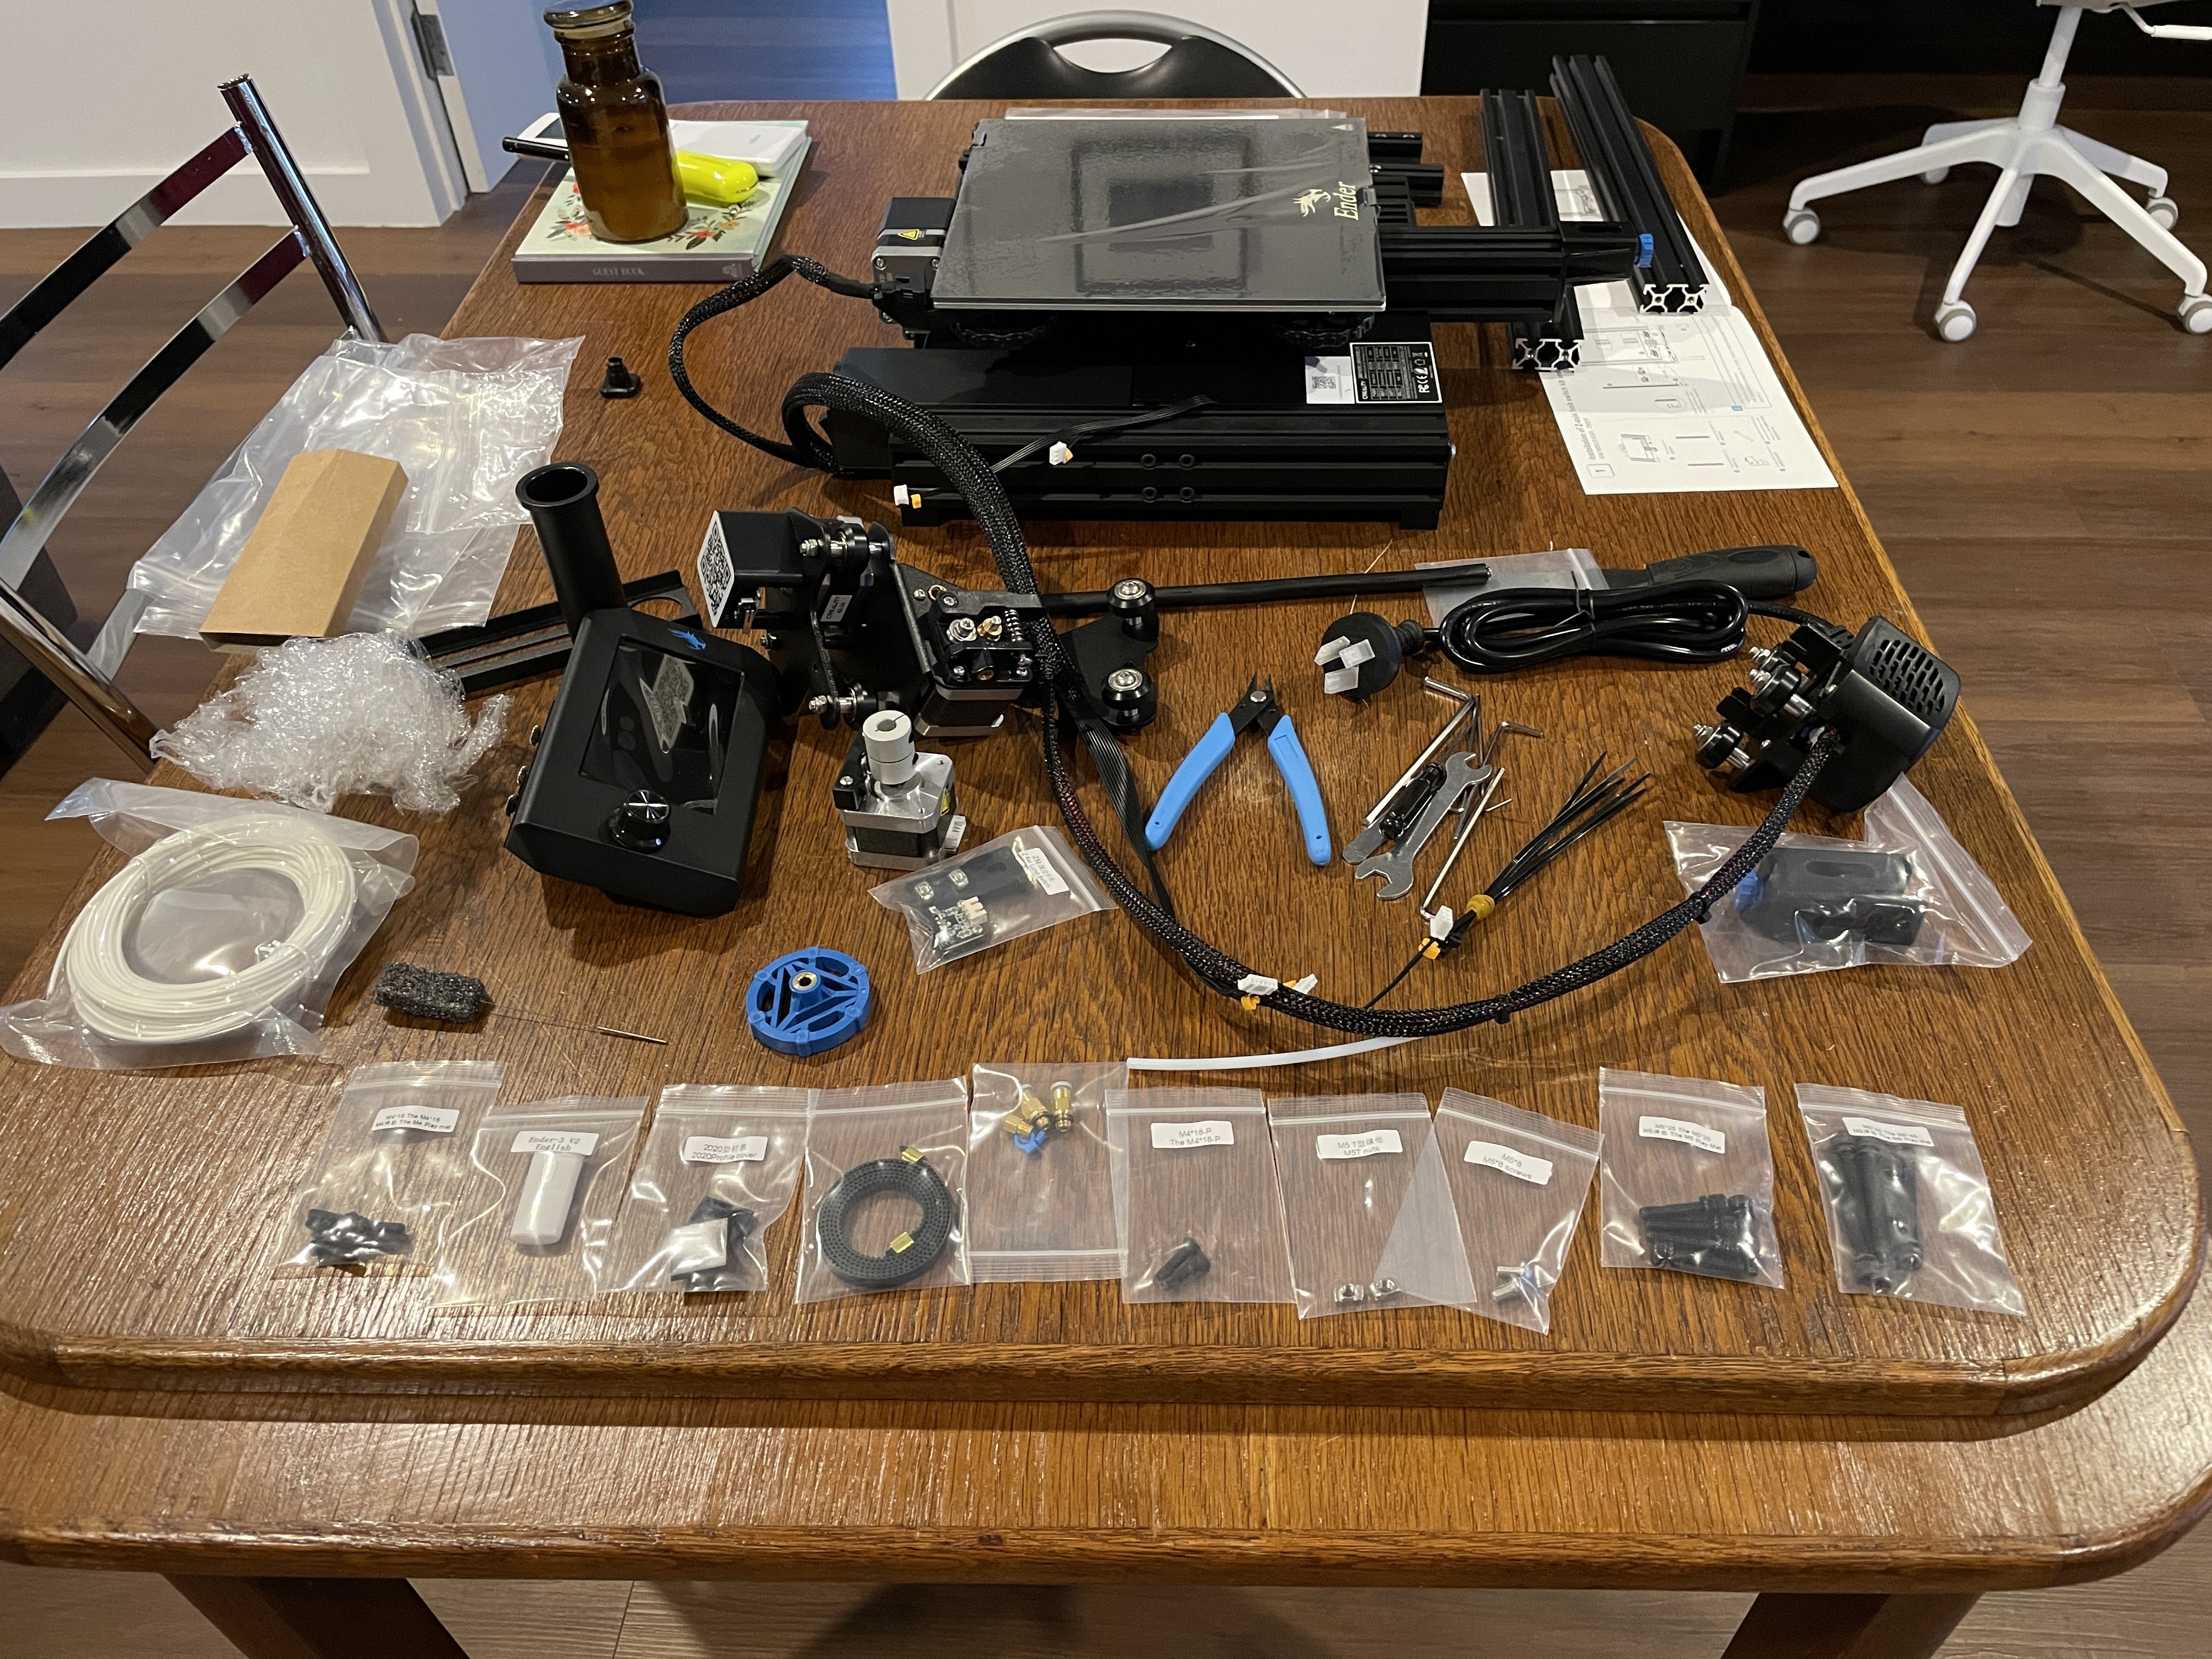
What arrived was a well packed kit. The base is already put together but you need to do the rest.


They do supply everything including tools such as hex keys, screwdriver, spanners and even side-cutters (which are used to cut filament). I was a bit daunted by the process but took my time and it came together.

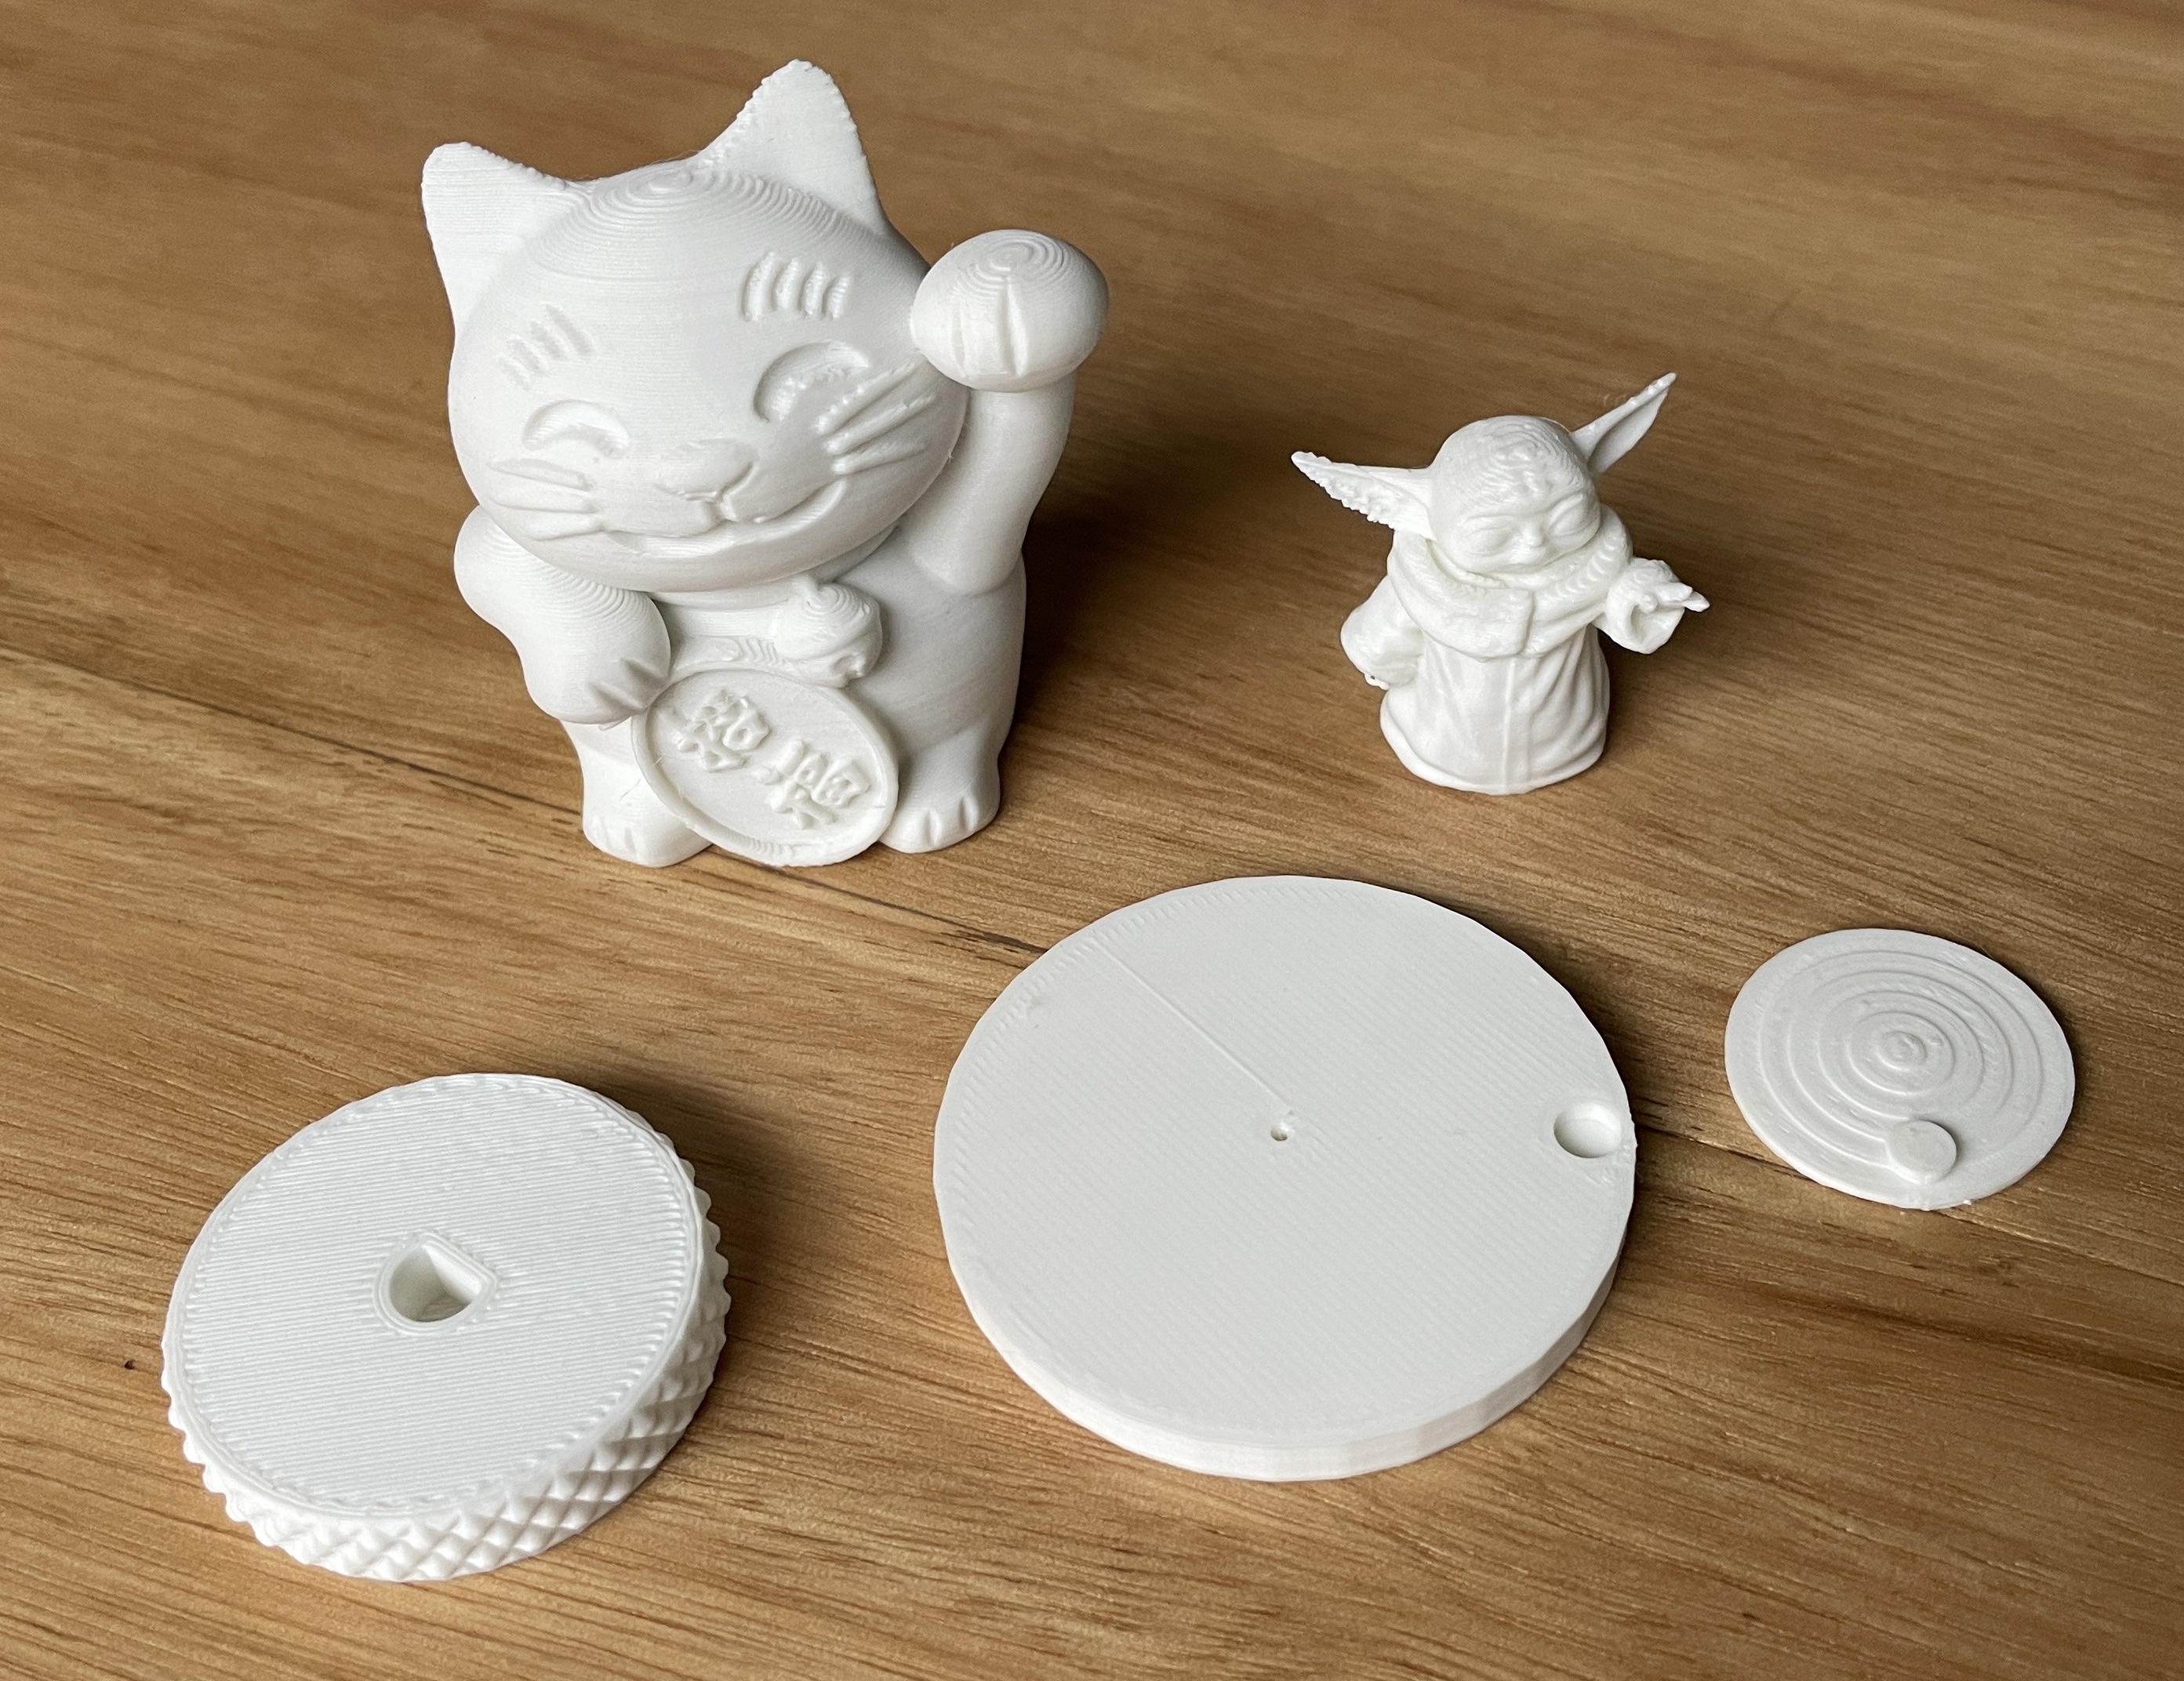
STL files can be loaded from a micro-SD card. They supply a card but my printer wouldn't read it for some reason. I formatted another card FAT32 and that worked fine. I was unsure that I'd got the base level enough but my first print, the Chinese cat you see below came out impressively well:

As you can see from my early prints here, my first use for a 3D printer is to make tuning knobs for radios. (Oh, and toys for the grandson).

There are many pre-made models ready to slice and print at Thingaverse, Thangs, Printables and others but I want to be able to design my own.

I scanned my face with the iOS app "3d Scanner App", exported to STL, imported in to Blender to tidy up and printed it:

Blender

Blender is open source software that works well on Linux, macOS, and yes, even Windows I hear.

It is amazing and capable of high quality 3D rendering and animation. Much more than I need.

Just enough Blender skills took a few days but now I can add objects, size them and punch holes in them with other objects. The trick here is to use a boolean between the main shape and the shape that will be the hole.


There are many videos on how to do things in Blender but I found the official tutorial from the BlenderFoundation YouTube channel was excellent.

The trick to making holes in objects is shown in this video on booleans.

Blender can export to STL or OBJ. I use the Creality slicer to produce gcode for the printer.

So far, my only failed print was a Millennium Falcon model that had a large overhang and ended up as a pile of hair. I have a great deal to learn but it is amazing technology.

Lilygo TTGO ESP32 board draws a graph of power from Enphase solar

Little "Arduino" projects around here often require a display and connection to the internet. ESP32 based boards are an obvious choice but which one? There are lots about but often the documentation is difficult to use and may be only available in Chinese.

I've found a board that has the features I need and has excellent documentation. Mine come from AliExpress stores and sell for about $15.

My latest project draws a nice graph of our solar generation and power consumption.


No credit is due to me, I'm just using the excellent work of others. My code is here.

Briefly, it pulls JSON data from the web server in the Enphase solar controller and keeps two arrays of past values which it plots.

The Arduino IDE version 2 is getting really good and I notice it now has a debugger but it only works with a few ARM based boards. I have ordered an Arduino Zero to try it out.

I had some errors in my maths (which is pretty terrible) and it takes a long time to debug if you have to print to serial, build and download, run to see what it says. The debugger allows setting breakpoints and inspecting variables.

One thing I find odd about the Arduino IDE is that it builds every time, even if I haven't edited a file. If I build to check syntax and then click Run it builds again. Surely they are using make or CMake which would compare the built binary's modification date with the source code and only compile the files that have changed?

Monday, August 15, 2022

Experimental remote operation of an IC-705

I founds some wonderful macOS SwiftUI code by Mark Erbaugh that implements the Icom remote access code. He's got the basics going and I've enhanced it just a bit with tuning controls and mode buttons. Today I managed to port it to iOS. Here's a video showing the basics.


My enhancements to the macOS version are here.

Mark's version is here.

He builds on top of Kappanhang here and WFView here.

Open source software is a wonderful thing.


Friday, July 29, 2022

New open source SDR available from HFSignals - sBitx

I've been following the progress of an open source SDR transceiver, the T41-EP, from Albert Peter and Jack Purdum for some time. It's a great contribution but the author's understanding of how open source normally works is a little unusual.

By contrast, Ashhar Farhan, VU2ESE, of HFSignals, exemplifies best practice. 

HFSignals new SDR transceiver, the sBitx, is available to early adopters. The radio has a large graphical touch screen that shows a waterfall. Inside there is a standard Raspberry Pi which is set up as the software development environment - great idea!

Here's my video of unboxing the sBitx, tuning around and having a not great first contact.


Later, on a different (more resonant) antenna, I did not have RF feedback trouble. It might be that the SWR is quite critical. The operation manual says "At times, with high enough gain and high SWR, RF can get into the mic and cause self-oscillations. Monitor the modulation on the display if you are setting the mic above 50 to be sure that it doesn’t happen."

"The sBitx is a 40 watts, fully open source, high performance HF SDR transceiver with in-built popular modes like the FT8, RTTY, PSK31, etc."

Design paper.

The source code and circuit diagrams are here on GitHub.

Operating manual.

Assembly manual.


There is discussion about the sBitx in the Bitx20 group (which should probably be re-named).

Having a computer inside that can be internet connected opens up all sorts of interesting possibilities for this platform.

Update

Since the original unboxing video, where audio stopped, I have updated the software to 1.1 and that problem hasn't re-occurred.

On the RF feedback... I was using my off centre fed dipole. Reading the ARRL Handbook I saw that command mode suppression on the feed line is "essential". This has now been added. I guess my normal (commercial) radio is more forgiving.

Wednesday, July 27, 2022

QDX with Fldigi on Ubuntu 22.04

The QDX works brilliantly with WSJT-X but I have struggled to get it working with Fldigi on Linux.

I'm pleased to report that I just had an Olivia 8/250 contact over a distance of 732km with VK2BLQ using Fldigi on Ubuntu 22.04.

Thanks to KJ7LVZ for the tip to install Pulse Audio Volume Control (from the Ubuntu App Store). That let me adjust and monitor send and receive audio levels.

In Fldigi I set the audio devices both to "pulse".

In the QDX settings I set the audio cycles to 1 (down from 480) as suggested by G3SPL. The larger number of samples is fine for slow changing modes like WSPR or FT8 but not good for fast modes like Olivia. Also I increased the receive gain to 75, up from 60 (I think), so I could see something on the waterfall in Fldigi.


Here's the Pulse Audio Volume Control window:


While I'm here, I've been using `screen /dev/ttyACM0` to configure the QDX but it's difficult to send ^Q as that's used for XON/XOFF. The trick is to type ^AQ. Hans, it might be good if there was another key to exit a menu than ^Q as I think many serial terminals might use ^Q for flow control.

Friday, July 22, 2022

Updated QDX Firmware to 1.04 - working very well on WSPR

The QDX is a tiny FSK mode transceiver from QRP Labs which works amazingly well. This week, new firmware was released which improves transmit a little. I've been running it on 40m here and results are very good.

My friend Stephen, VK2BLQ, is 800km away in Sydney and he received my 3W at +18dB last evening.

I have a theory that direct generation of RF for digital modes in rigs like the QDX produces a cleaner signal than you get by mixing audio up to RF in a sideband radio and so decodes are better.

At a similar time I had a transmit cycle that was spotted by 45 stations around the world.


 Changes in 1.04:

  • Resolution to the Rev3 PCB "popping" issue (RF discontinuities during TX).
  • Audio streamed to the PC during Transmit is now set to zero (silence).
  • 50 millisecond transmit timeout on cessation of audio from PC (protects QDX e.g. if PC crashes).
  • No CAT command TX timeout (configurable enable and timeout duration).
  • Removed unnecessary 48ksps clock domain sync PC vs QDX.
  • Enables PTT output connector, with grounded and +5V outputs individually controllable by band.
  • 12kHz IF offset is removed when you enable IQ Mode.
  • Transmit is disabled when you are in IQ mode. 
  • Gain is now in dB.
  • Gain is now configurable per band.
  • New "Band Configuration" screen where you can configure the list of supported bands.

The firmware upgrade process couldn't be easier. You interrupt the power up cycle and then re-plug the device. It mounts as a disk drive and you drag over the firmware.

After running for a few days on 40m I see I'm #3 on the WSPR Challenge for receiving. 


Hard to beat Phil, VK7JJ though!

Thursday, July 07, 2022

Live PV solar monitor

If you have solar photo voltaic panels it's good to know how much is being generated so you can choose when to use power such as the tumble dryer. Using power locally, from the panels, is much more economical than receiving the feed-in tariff and buying power back at other times.

In a previous home we installed a PV solar system that had a Fronius inverter. I was impressed with the low RF noise emitted by this product and pleased to find that it had a JSON producing web service endpoint that I could poll to see how much power was being generated.

At our new home there is a system with micro-inverters and an Envoy controller. The micro-inverters do produce noticeable RF noise but bear in mind that this is a very low noise location so I might be a little sensitive to it.

It turns out that this system also has JSON producing web services. The system, once I figured out how to connect to our Wifi, has a web interface at http://envoy.local 

By enabling Developer mode in the browser I was able to see that the web page calls back to endpoints including:

  • home.json
  • production.json
  • Inventory.json
  • info.xml
  • dba.json
I haven't explored them all, but production.json gives me the data I need.

Here's a snippet showing how I get the generated power and the used power from the content returned from production.json

DynamicJsonDocument doc(3072);
DeserializationError error = deserializeJson(doc, payload);

if (error) {
USE_SERIAL.printf("Json error");
return;

}

// Extract current power generated from the Envoy controller JSON

long genWattsNow = doc["production"][1]["wNow"];
long useWattsNow = doc["consumption"][0]["wNow"];

Using a nifty M5StickC device, which has an ESP32 and a little LCD display, I've stuck together sample code for an http client and Json parser to display the currently generated power and the currently used power. I'm happy to share the code but honestly, there's not much to it beyond the HTTP sample code.

Thursday, June 30, 2022

DMR in Australia - what I've learned

DMR digital radio is intriguing but confusing. I live at a location where I can't reach any DMR repeaters so I'm using a pi-star hotspot to access global talk groups.

The hot spot provides a local radio link to my TYT MD380 handheld and connects to the DMR network. There are several networks available in Australia:

  • VKDMR - the official network that includes most repeaters
  • FreeDMR - an alternative network apparently objecting to the control by repeater operators
  • Brandmeister - this seems more global than the others
  • VKMultnet - VK2 based connects to VKDMR, Brandmeister, C4FM and P25
After trying the first three, I've settled on Brandmeister. I like the way talk groups are configured through a web interface on the site rather than a rather cryptic "options" string in pi-star. You do need to register and set a password but this was all pretty easy.

Brandmeister including many active track groups such as 91 which has traffic pretty much 24/7.

The radio's programming is done by editing its "code plug". There's no real code, it's just configuration settings. Initially, I downloaded a code plug which had every repeater in Australia in it but I found the number of settings in there overwhelming and so I started from scratch with a minimum setup for my needs through a hotspot.

DMR is designed for commercial use and many of the features are not used for ham radio and many of the terms are alien. 

On the MD380 you choose a "zone" which is typically a set of channels for a repeater or a hot spot.

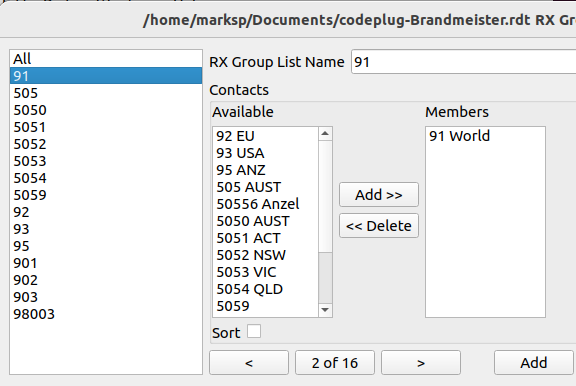
Here's my process to add a talk group or contact to a zone for my radio.

I'm using the excellent editcp (edit code plug) on Linux.

First I add a group or personal Contact.


Next I add an "RX group". I'm not sure if this is necessary.


Now I create a Channel that combines the contact and RX group.


Finally I create a zone and add the Channels to it.


Then upload the code plug to the radio.

The Zone, in my case "HomeSp" is chosen via the menu and then the knob on top selects between talk group or contacts.

I'm using the third party MD380 Utils firmware so I have some extra features such as showing more information about who's talking and promiscuous mode where I hear everyone even if not on that talk group.

Private calls

Adding another station's DMR ID as a contact and (via the steps above) adding it to a zone gives me the ability to call that station privately. I think this only works if we're both on the same DMR network. Ross EX0AA and I have been able to speak using this mechanism with good success.

Activity

You can get s sense of the activity on Brandmeister via the LastHeard page. You can listen in via the Brandmeister Hoseline. (Click on a box with a red outline).

Finally

I am really just starting to figure this stuff out. Please comment with corrections or clarifications - I'm sure to be mis-understanding this rather confusing world.
Thursday, June 23, 2022

Guest on ABC RN's Download This Show

Facebook pointed out that I've been appearing on Marc Fennell's Download This Show for over ten years. Since COVID and my move to country Victoria, I'm a remote guest but you probably wouldn't know as a listener.

This week:

"After 27 years Microsoft has retired Internet Explorer, a product which transformed the way people engaged with the web. A timely end, or gone to soon?

Plus, new data reveals that Australian border force searched more than 40,000 mobile devices in five years. Can they all be justified?

And, Instagram introduces parental controls to a curb mental health crisis."

The show airs a few times on ABC Radio National or you can listen here.

Wednesday, June 08, 2022

Built the QDX from QRP Labs

The QDX v3 kit arrived yesterday and today I've finished the build.


This transceiver is tiny, about the size of a playing card deck. It does FSK modes on four bands: 80, 40, 30 & 20m. Five watt output and a great receiver from what I can see so far.

The QDX connects to a computer with a single USB cable that comes up as a sound card and does TS-440 compatible CAT control - so very convenient for possible field use.

It can be built for 9 or 12V operation - I went with 12V as I have it more available.


The assembly manual is the best I've ever followed. Clarity and detail with lots of handy tips from Hans. The board comes with all the surface mount components already soldered in place so the main job for the constructor is a few diodes, capacitors, transistors and winding the toroids. 

Page 34-76 of the assembly manual describes the design and could be a book on its own rivalling the recent Software Defined Radio Transceiver Book by Peter & Purdum.

I took my time and had a break after a few toroids. One of the joints didn't connect but following Hans' advice to check continuity found this problem at the time. On initial power up I blew a 25A fuse - which was a bit alarming - but I think it was my DC connector shorting. All was fine with another connector.

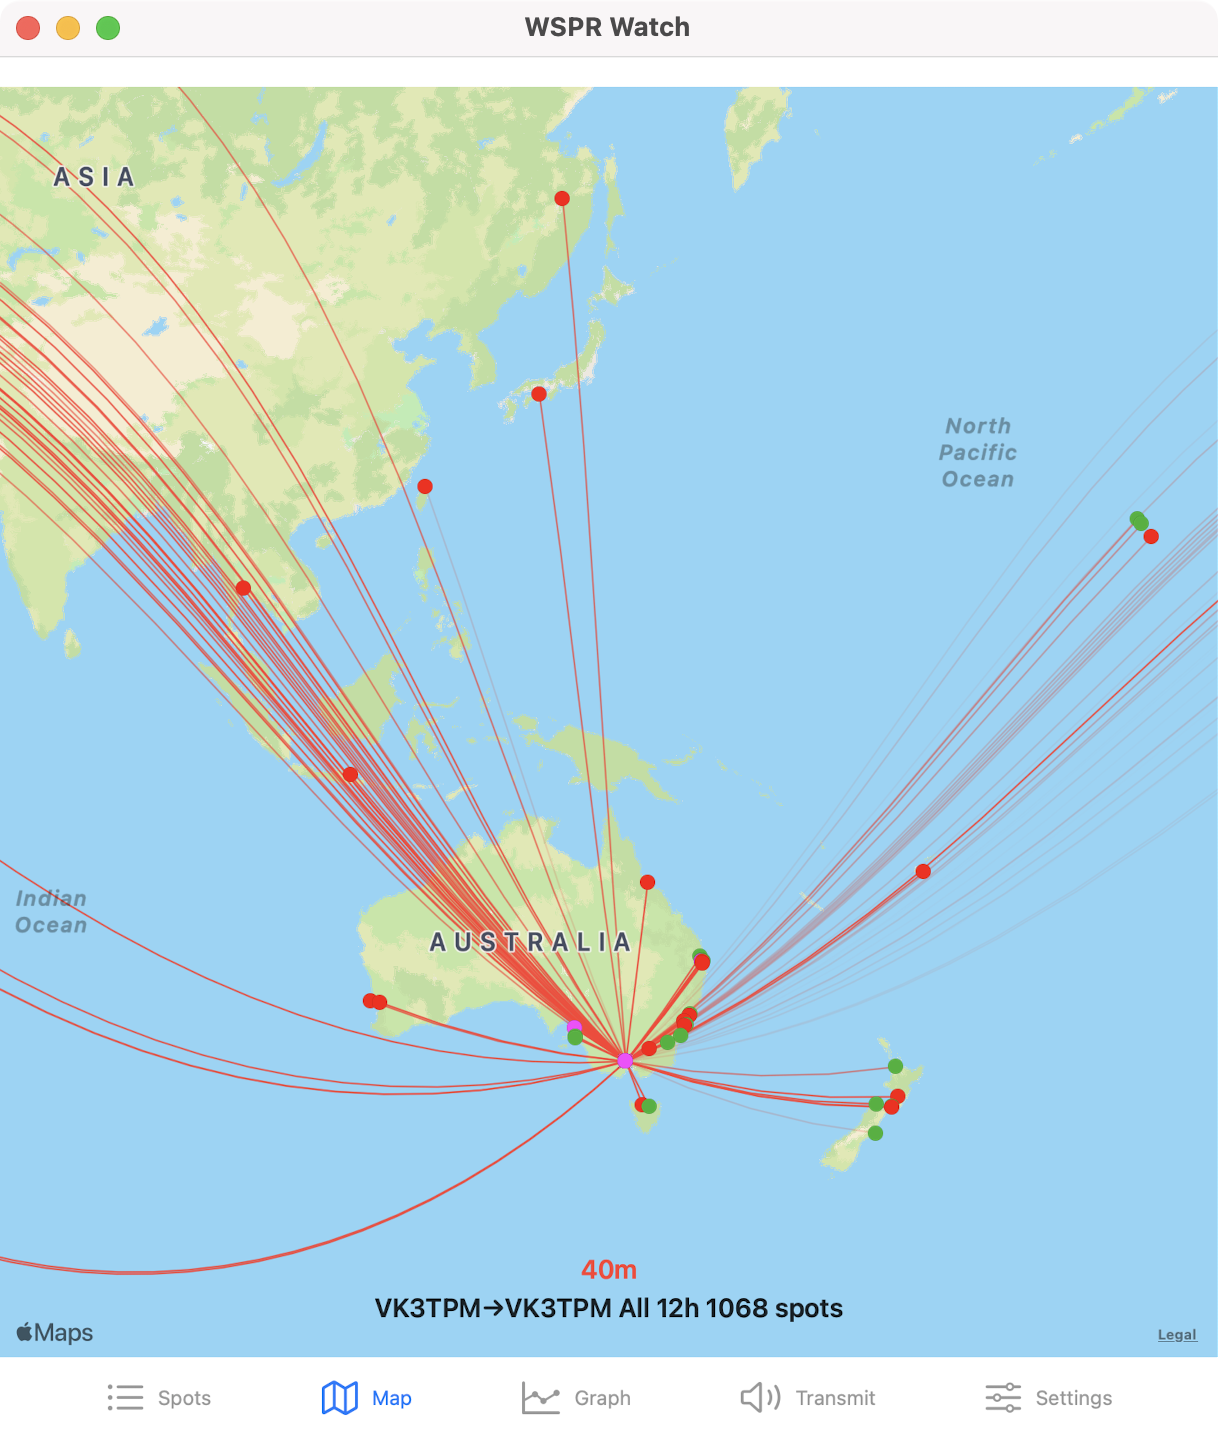
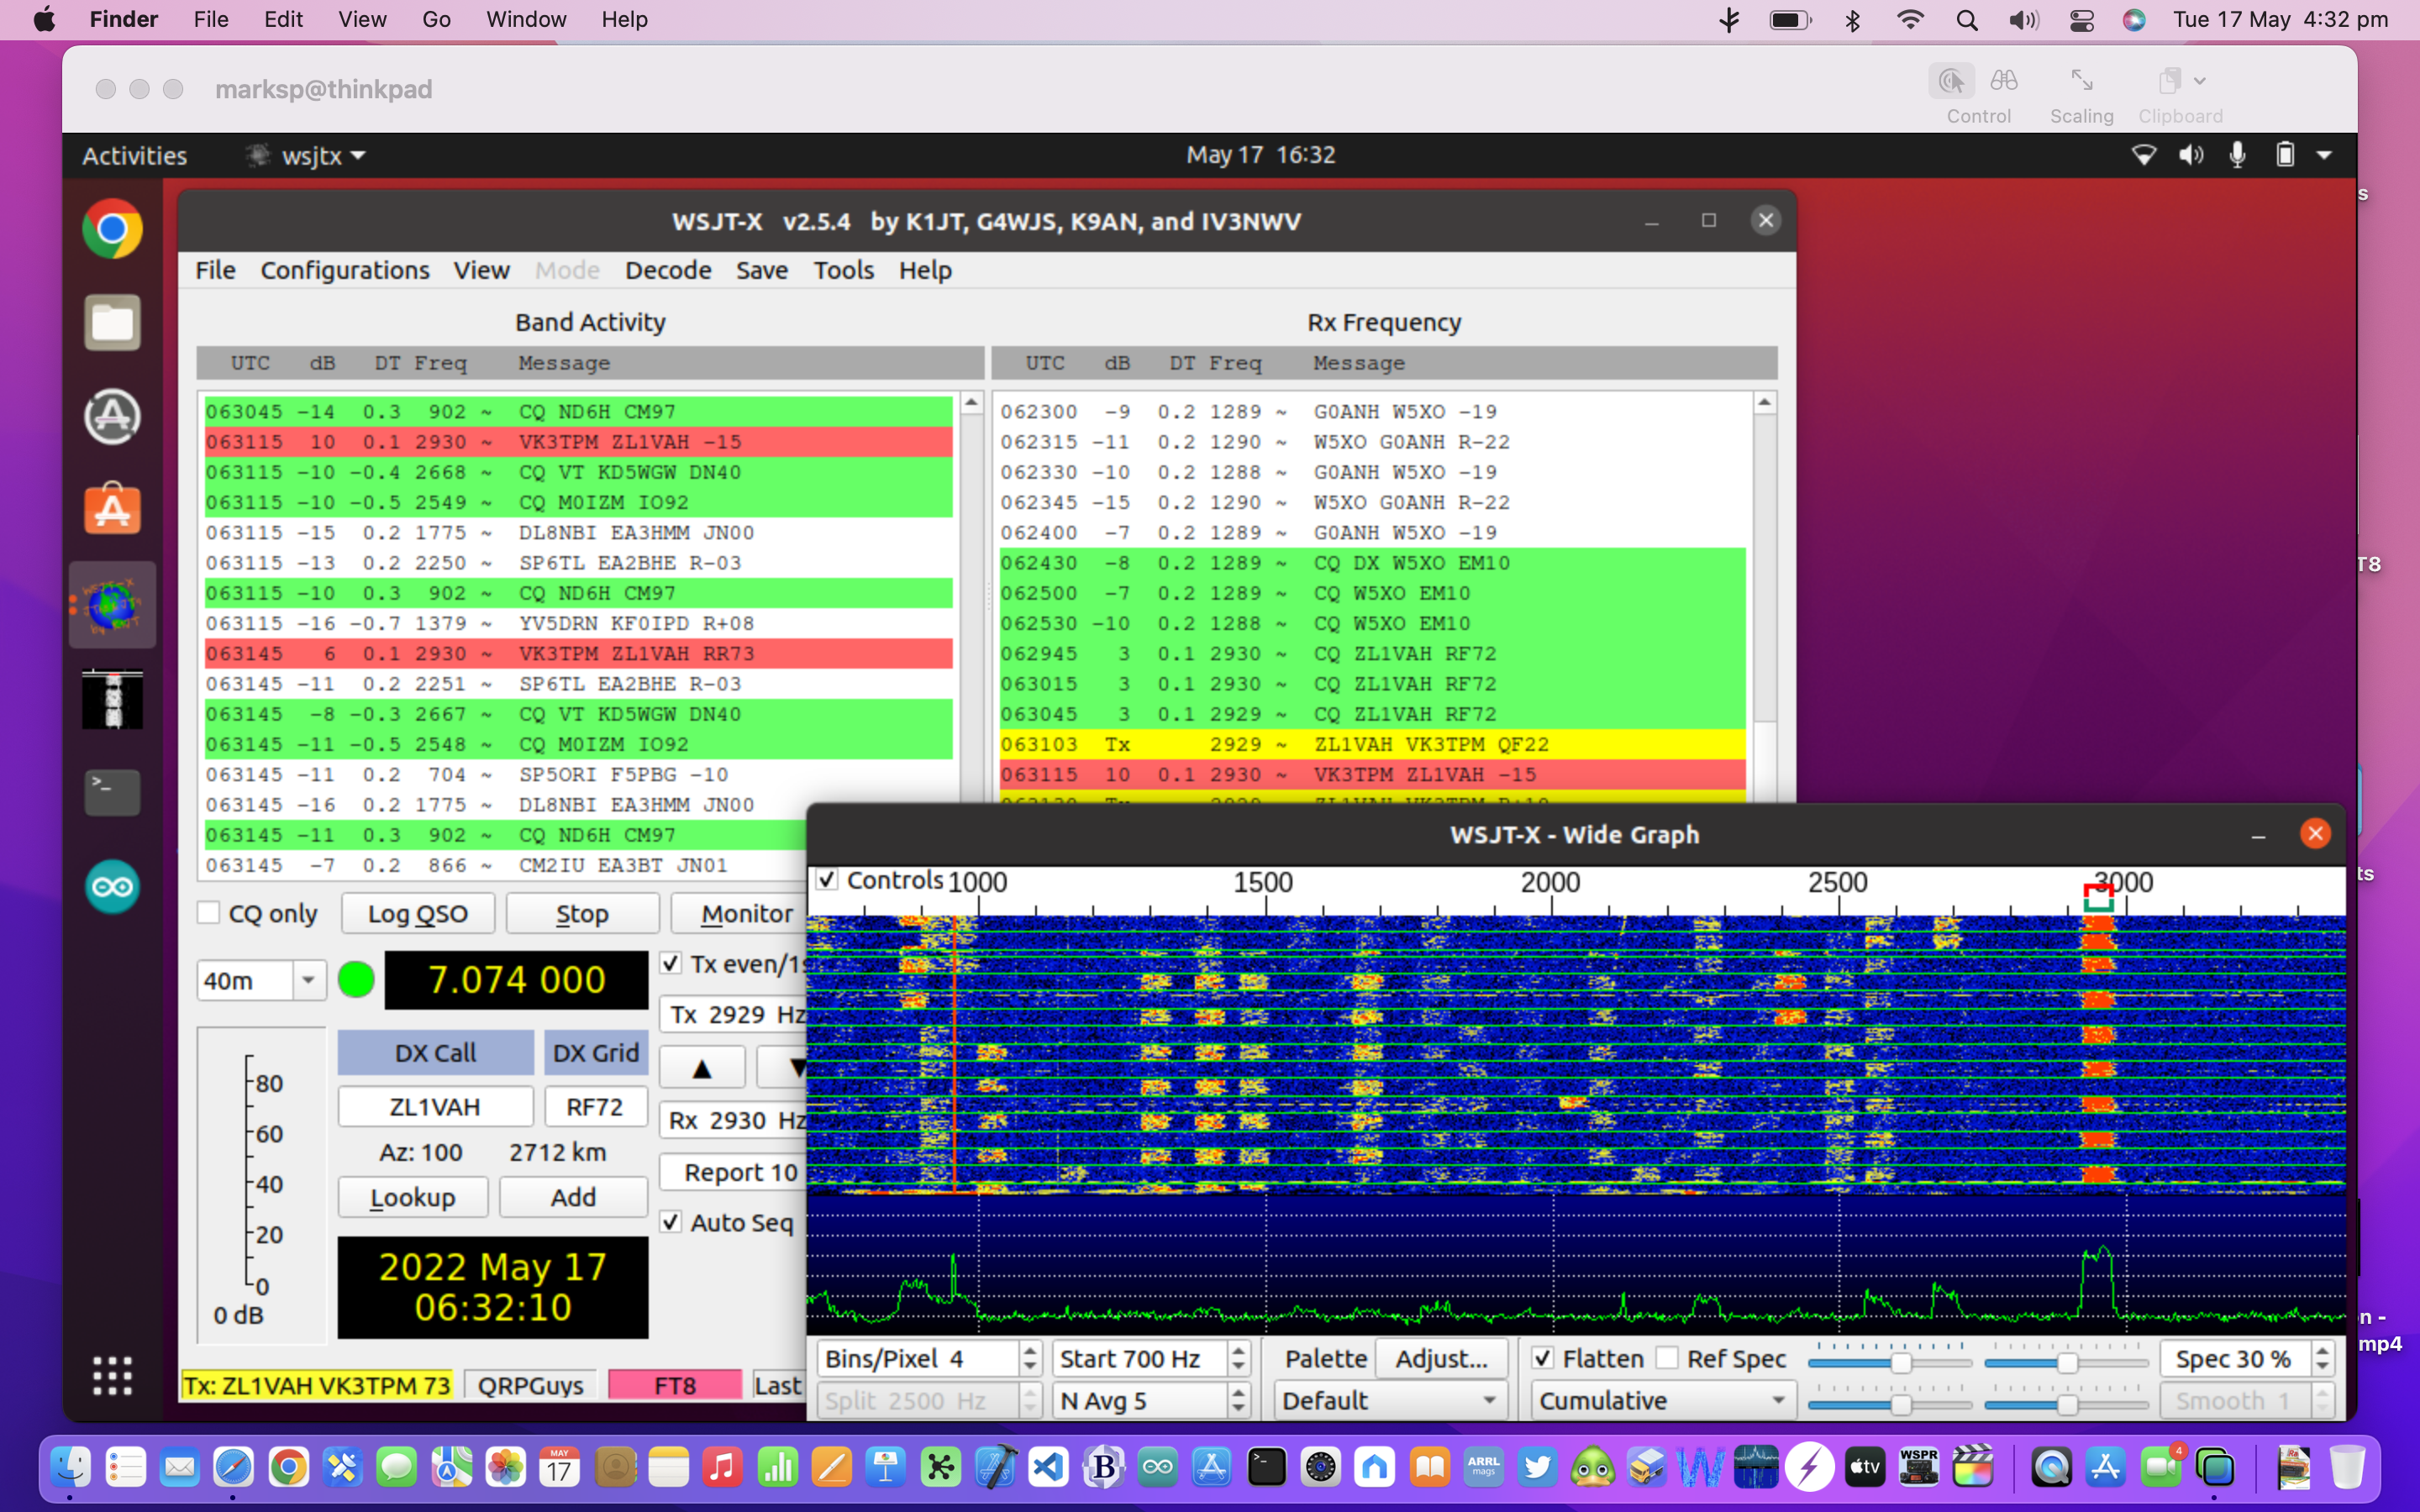
Running with wsjt-x on Ubuntu Linux 22.04 got immediate spots on each of the bands (shown here in WSPR Watch).


There is diagnostic software built-in that can be operated via a serial (over USB) terminal. Here is the low pass filter band sweeps on my unit. I'm interested to know if this looks normal or should I perhaps remove a turn from the 80m low pass filter for example?


Here's my portable operations configuration. The QDX is the smallest part:


I can't recommend this kit too highly.

Wednesday, June 01, 2022

Slow scan TV activity on 40m

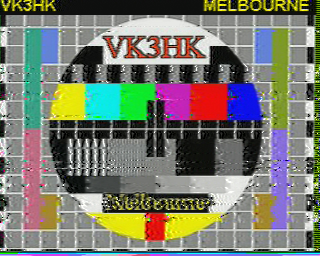
Stephen, VK2BLQ, alterted me to SSTV activity on 7.171Mhz. I ran qsstv on Linux and easily had some contacts. Leaving it running means that it gathers images decoded for later view.

Hooked up to the IC-7300 via USB audio worked fine but I'm having trouble with CAT control of transmit - the app runs incredibly slowly for some reason. I had a voice contact with VK3HK who mentioned that he had the same issue.

QSSTV has many modes, the first one in the list is Martin 1 so I used that. Happily the receive software figures out which mode is being used automatically.


Stephen, VK2BLQ keeping warm.

Saturday, May 28, 2022

Chirp from snap permission denied accessing serial port

In the past I've used Chirp to load up a Baufeng radio with all of the repeaters in NSW and now that I've moved to Victoria it's time to switch to Victorian repeaters. (You can download lists of repeaters in CSV format from the WIA). Things have moved on though, and under Ubuntu 22.04 I found that the apt version of Chirp has some user interface bug where the OK button on the Download dialog is not visible.

There is a snap version of Chirp so I installed that. Snaps are a way of packaging applications up with their dependencies - I'm new to this but it looks like a good idea, except that I found that Chirp reported a permission denied error when I tried to open the serial port. The normal problem - not being in the dialout group - was not the fix.

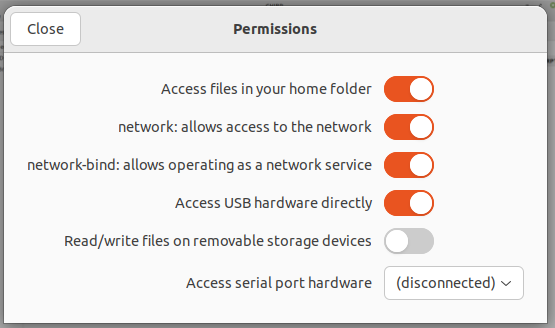
In the Ubuntu software centre, when installing a Snap, there is a permissions button:


Clicking this shows extra permissions including access to USB and serial port hardware:


After enabling USB access, the Download dialog no longer gives an error:


Chirp downloaded all the memories ready for editing or replacement.


Setting up the memories like this is much less tedious than doing it through the front panel.

What about on macOS?

These days my primary operating system is macOS Monterey on an M1 Mac. Chirp doesn't work on macOS as they've dropped Python2. I am pleased to report that emulation works incredibly well. I've installed the free UTM for macOS and installed ARM Debian with Xfce from their catalog. Chirp etc all works well.


I downloaded the Chirp file for Victoria from the WIA, edited it in LibreOffice Calc, imported in to Chirp and uploaded it to a Baufeng UV5R.

Monday, May 16, 2022

Built the QRPGuys AFP-FSK Digital Transceiver III kit

A QRP Labs QDX digital transceiver kit is on order but in the mean time I was looking for information on the technique Hans uses to modulate the Si5351 from a computer generating FSK modes, such as WSPR. The manual mentions that the way it works is to measure the frequency of the audio coming in from the computer and then directly set the Si5351 frequency. This means there's no mixing and no opposite sideband. Very clever!

It turns out that this idea is not new and dates back many years, even implemented on a Z80.

While QRP Labs keeps much of their source code secret, another vendor - QRP Guys - have a transceiver that uses the same system and they supply the source code.

I have just finished building and debugging their Digital FSK Transceiver. It's not as neat as the QDX as it uses analog audio in and out. Transmission is by VOX so it's not a huge problem.


The kit went together well but I couldn't get it working even though the display showed the right things. It didn't auto-detect the low pass filter band (there's a resister divider to signal the band by voltage).

I downloaded the source code and wrote to QRP Guys to tell them they linked to the wrong source. I was wrong of course and failed to read the file called README First which explained that the same source file is used for a few different projects.

Ken LoCasale replied with LOL after I realised my error. Nice quick response from the QRP Guys.

Unable to get the kit working, I built the code and flashed an Atmel ATmega328p chip in an Arduino Uno. When I swapped that chip into the VFO board the receiver sprang to life.


As you can hear, SSB reception is good but the 1kHz tuning step is a little large for SSB reception. I haven't calibrated my oscillator so that might help.

Driven with audio from WSJT-X I saw 38V peak to peak into a 50 ohm dummy load running on 13V.

After calibration I had an FT8 contact without any problems.


20m is very active today. For such a simple receiver (Si5351 + NE602), it does a great job:


It's great that QRP Guys have shared their code.

Interestingly the code that made version 3 of this project possible was shared by Kazu Terasaki AG6NS. There's a discussion here. His GitHub page has several projects and there's a branch with the official QRPGuys version.

I'm very much looking forward to the QDX which has a single USB interface to the computer and an apparently very good SDR receiver. This is a good kit and fun to tinker with.

Thursday, May 12, 2022

Wifi router, Gl-inet GL-AX1800 makes measurable improvement to speed

My internet here at Drummond isn't great. It's NBN Fixed wireless. While the download speed is OK I experience packet loss and have trouble with video calls some times.

Recently I've noticed that the Apple TV would sometimes have very low download speed such that streaming video dropped back to a very low bitrate version. I have been using Google Wifi mesh devices but was frustrated by the very limited control available through the Google Home app.

I decided to buy some Wifi routers that run OpenWrt, I chose the GL•iNet AX1800s. AKA Flint.


If the client is capable, these routers can provide gigabit speed over wifi. Of course, my internet connection is way below this. Having replaced the Telstra Wifi router with one of these I find that the broadband speed, as measured with the Ookla app is about 10Mbps faster than previously.


Note the terrible 12% loss though (not in my network). Interestingly ping loss is zero but I see loss during speed tests so I guess it's larger packets that are dropped.

Here we have two buildings and they are linked with ethernet so a second router is used in the shed to extend the network by setting it to "Access Point" mode.


The meaning of this setting was not obvious to me and googling how to do this on OpenWRT led me down a complex and incorrect path before I reset the router and looked more deeply.

Access Point mode means that the router shares the network available on its WAN port via ethernet and Wifi without doing its own DHCP or NAT.

Thursday, May 05, 2022

Insulated shack with antenna pass-through

Here at my low-noise country lair the storage shed I use for my ham radio shack was going to get very cold now that winter is coming.

I've had a carpenter insulate and line the space and a challenge was figuring out how to connect radios to antennas. 

Ross, EX0AA, suggested SO-239 bulkhead adapters:


I asked the carpenter to create a lined port to the outside and I've mounted a plate on the inside wall like this:


On the outside I've mounted a hinged plate to keep rain out of the cavity.


Underneath coax can connect.


The gaps around the port were filled with expanding foam filler.

With some, rather off level, shelves; the shack is now working well.


The concrete floor needs a bit of carpet.

Last night I joined the Macedon Ranges Amateur Radio club 80m net. It was 10C outside but, with the help of a small heater, it was a toasty 22C inside the shack.