Tuesday, August 30, 2022

Creality Ender 3 v2 3D printer with just enough Blender

My sister Jane once asked for a horse because "everyone in her class has a horse". 

Sometimes it feels that way with 3D printers. Several people have recommended the Creality Ender-3 printer as a good starter model. I ordered the Ender-3 v2 and paid AU$360. (Excellent value).

What arrived was a well packed kit. The base is already put together but you need to do the rest.


They do supply everything including tools such as hex keys, screwdriver, spanners and even side-cutters (which are used to cut filament). I was a bit daunted by the process but took my time and it came together.

STL files can be loaded from a micro-SD card. They supply a card but my printer wouldn't read it for some reason. I formatted another card FAT32 and that worked fine. I was unsure that I'd got the base level enough but my first print, the Chinese cat you see below came out impressively well:

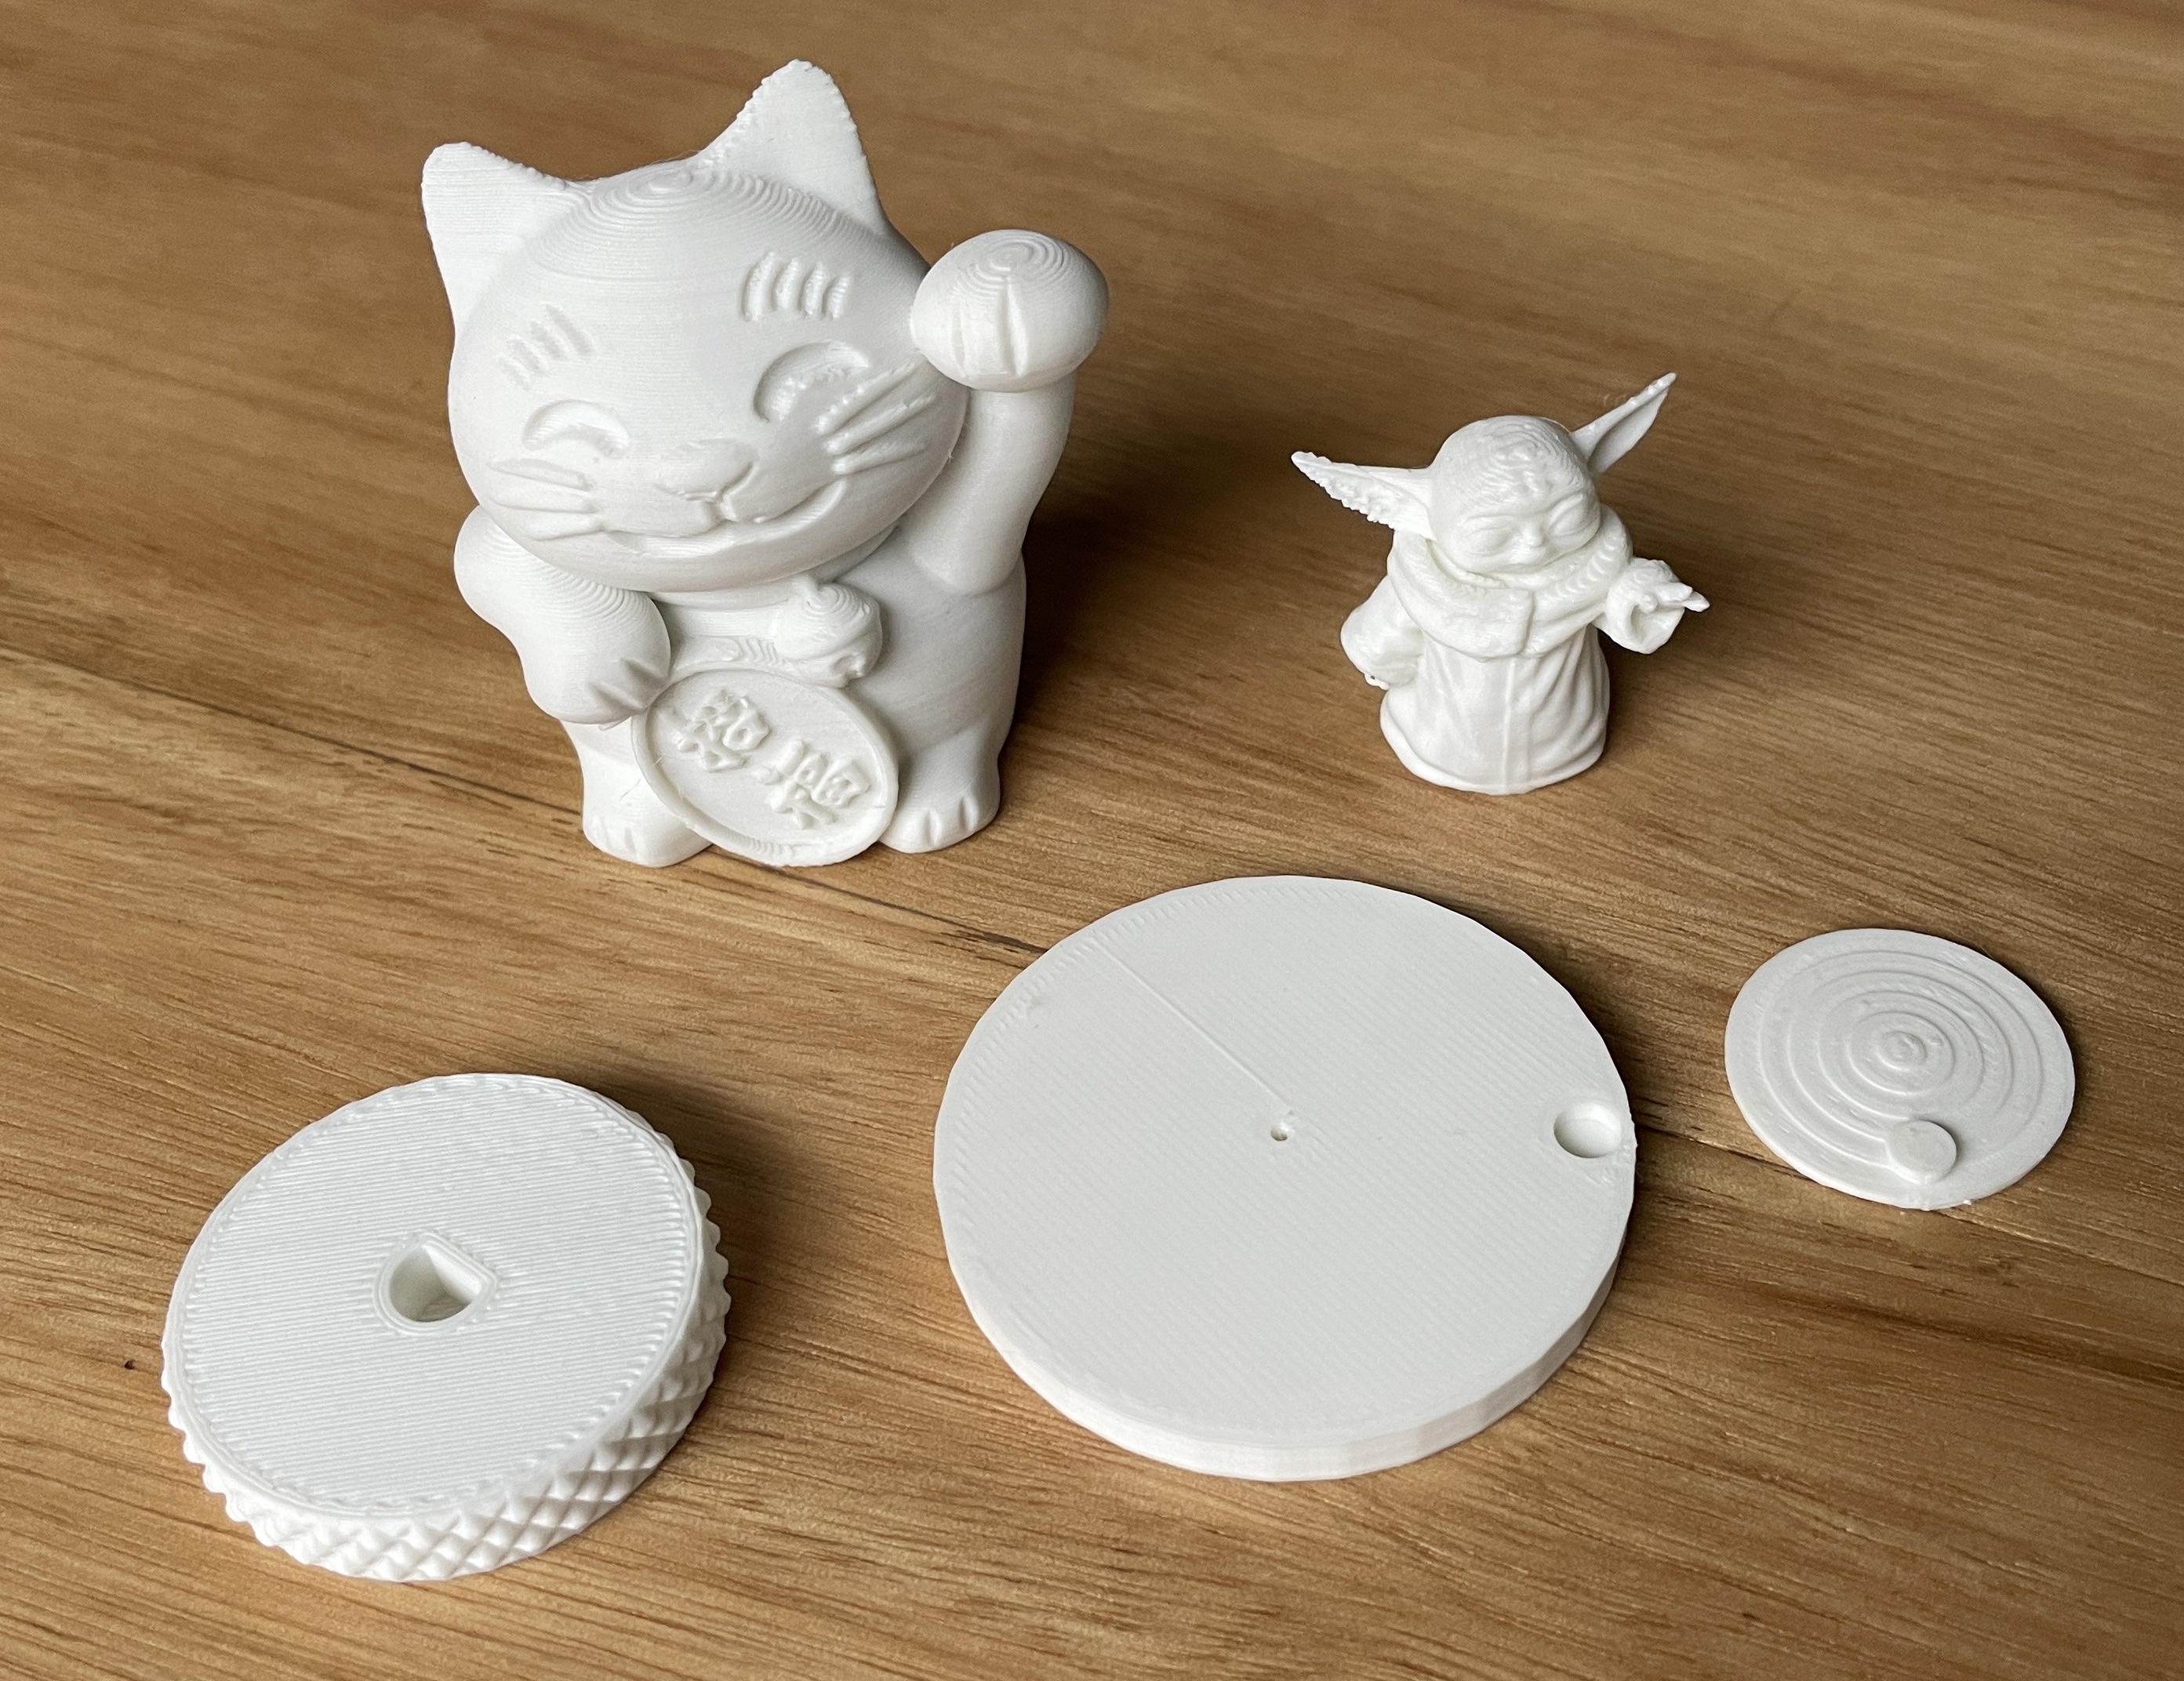
As you can see from my early prints here, my first use for a 3D printer is to make tuning knobs for radios. (Oh, and toys for the grandson).

There are many pre-made models ready to slice and print at Thingaverse, Thangs, Printables and others but I want to be able to design my own.

I scanned my face with the iOS app "3d Scanner App", exported to STL, imported in to Blender to tidy up and printed it:

Blender

Blender is open source software that works well on Linux, macOS, and yes, even Windows I hear.

It is amazing and capable of high quality 3D rendering and animation. Much more than I need.

Just enough Blender skills took a few days but now I can add objects, size them and punch holes in them with other objects. The trick here is to use a boolean between the main shape and the shape that will be the hole.


There are many videos on how to do things in Blender but I found the official tutorial from the BlenderFoundation YouTube channel was excellent.

The trick to making holes in objects is shown in this video on booleans.

Blender can export to STL or OBJ. I use the Creality slicer to produce gcode for the printer.

So far, my only failed print was a Millennium Falcon model that had a large overhang and ended up as a pile of hair. I have a great deal to learn but it is amazing technology.

Lilygo TTGO ESP32 board draws a graph of power from Enphase solar

Little "Arduino" projects around here often require a display and connection to the internet. ESP32 based boards are an obvious choice but which one? There are lots about but often the documentation is difficult to use and may be only available in Chinese.

I've found a board that has the features I need and has excellent documentation. Mine come from AliExpress stores and sell for about $15.

My latest project draws a nice graph of our solar generation and power consumption.


No credit is due to me, I'm just using the excellent work of others. My code is here.

Briefly, it pulls JSON data from the web server in the Enphase solar controller and keeps two arrays of past values which it plots.

The Arduino IDE version 2 is getting really good and I notice it now has a debugger but it only works with a few ARM based boards. I have ordered an Arduino Zero to try it out.

I had some errors in my maths (which is pretty terrible) and it takes a long time to debug if you have to print to serial, build and download, run to see what it says. The debugger allows setting breakpoints and inspecting variables.

One thing I find odd about the Arduino IDE is that it builds every time, even if I haven't edited a file. If I build to check syntax and then click Run it builds again. Surely they are using make or CMake which would compare the built binary's modification date with the source code and only compile the files that have changed?

Monday, August 15, 2022

Experimental remote operation of an IC-705

I founds some wonderful macOS SwiftUI code by Mark Erbaugh that implements the Icom remote access code. He's got the basics going and I've enhanced it just a bit with tuning controls and mode buttons. Today I managed to port it to iOS. Here's a video showing the basics.


My enhancements to the macOS version are here.

Mark's version is here.

He builds on top of Kappanhang here and WFView here.

Open source software is a wonderful thing.